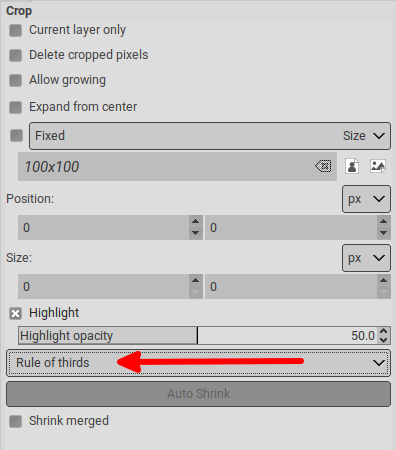
If my solution isn’t appropriate for this forum, I hope someone will let me know and I won’t post any more like this.
I’m a lot better at MetaPost and TeX than I am at GIMP, and it’s very easy to do this sort of thing with those programs (both also Free Software), so this is similar to something I do quite often.
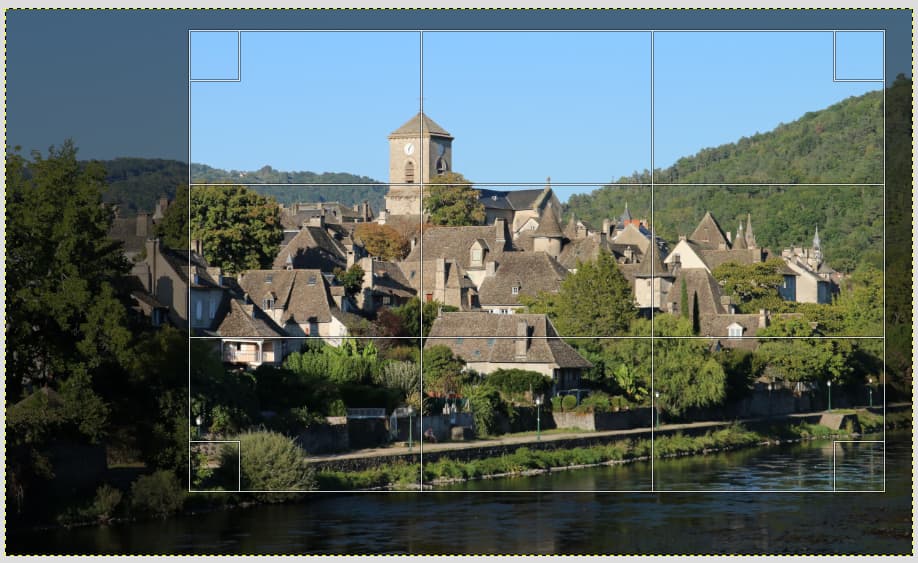
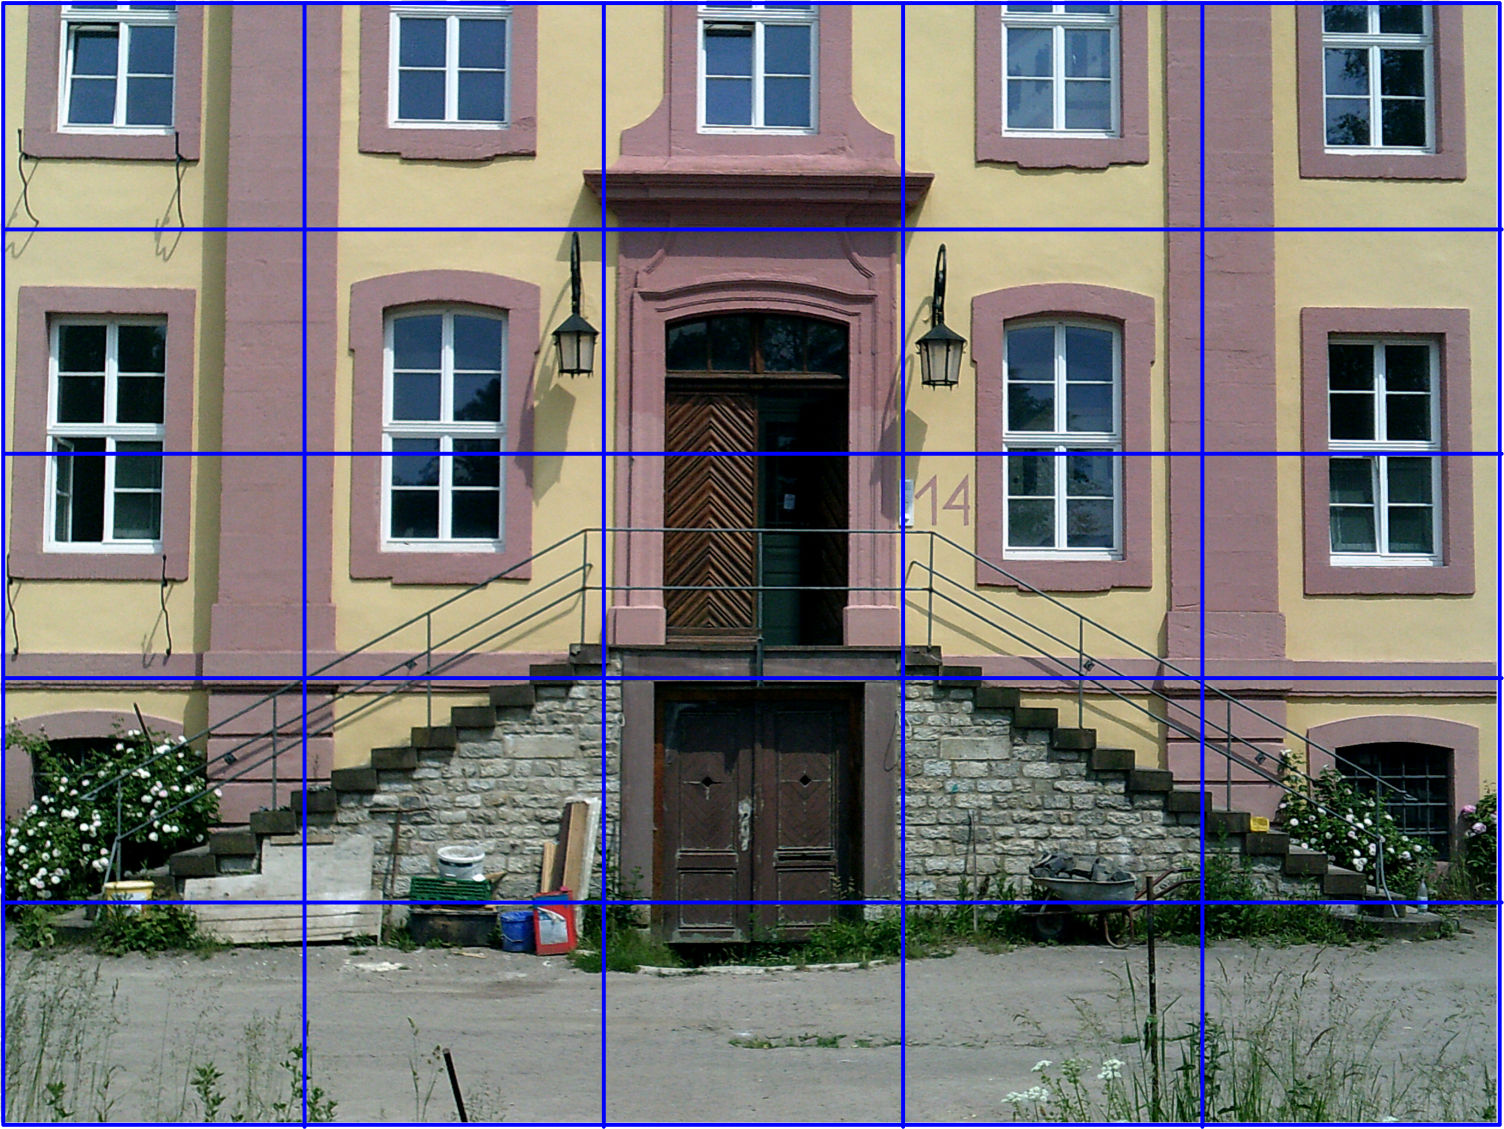
I’ve uploaded a photo with a grid. The PDF file containing the original image, the image with the grid and the grid alone is too large to upload, so I’ve made it available here, along with the MetaPost and TeX source code:
https://laurence-finston.de/#Grids_for_GIMP
Any grid configuration within reason is possible and the number of horizontal and vertical divisions don’t have to be the same. In fact, they don’t have to be horizontal or vertical, either.
The method is as follows: I include the image in the TeX file using the macros \epsfsize and \epsffile from the DVIPS package. In order to get the image to fit onto a page with the format DIN A3 landscape (420 X 297mm), I shrunk it slightly. Of course, it would also be possible to just specify a larger format in the TeX file.
The size of the image can be found by putting it into a TeX box and outputting the width and height. I did this once and noted down the values. It would be possible to automate the process by having TeX write the values to a file and have MetaPost read them, but for a one-off example it wasn’t necessary.
I used these values in the MetaPost code to make the grid, taking account of the width of the pen used to draw it. I then called TeX again, overlaying the grid onto the image using “boxes and glue”, in particular, boxes of 0 dimension and infinite glue.
I used dvipdfmx to convert the resulting DVI file to PDF and imported the latter into GIMP. I can import the pages as layers or separate images. In GIMP, I can use the magic wand to select the blue grid or just use the layer with the grid only.
Of course, this could be done with GIMP alone but apart from my being better at MP and TeX, it’s very easy to operate with precise values in the latter programs and I prefer just typing in values or having a program calculate them to entering them in menus.